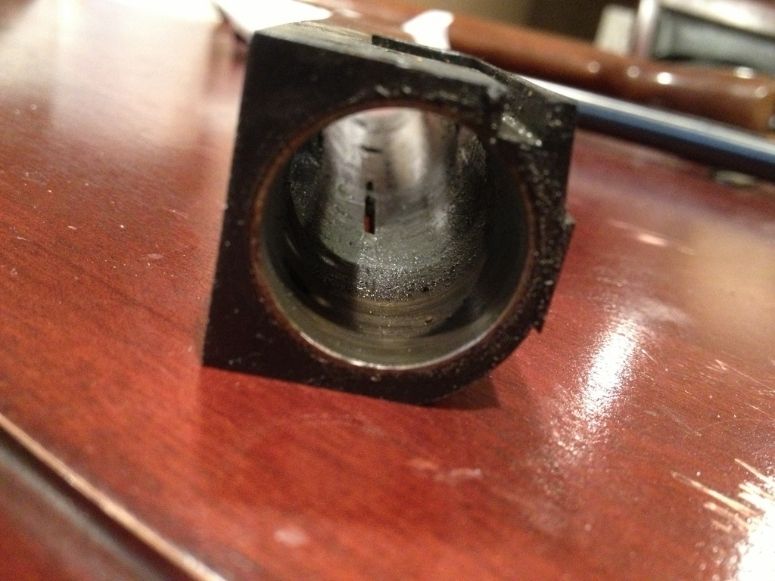
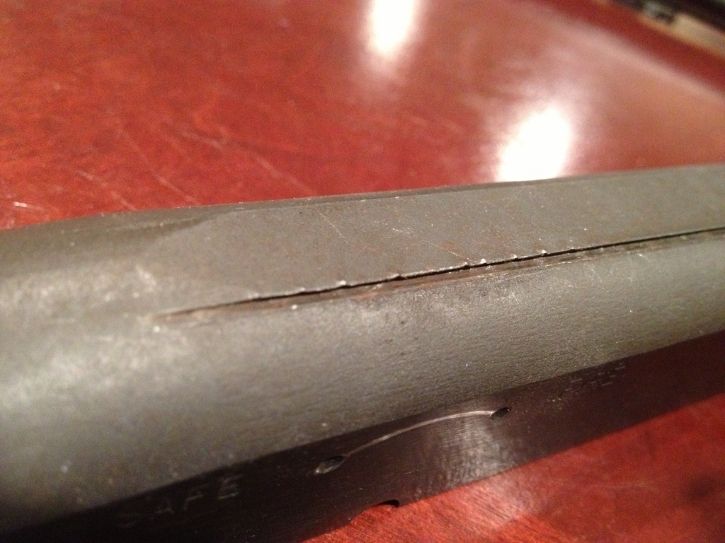
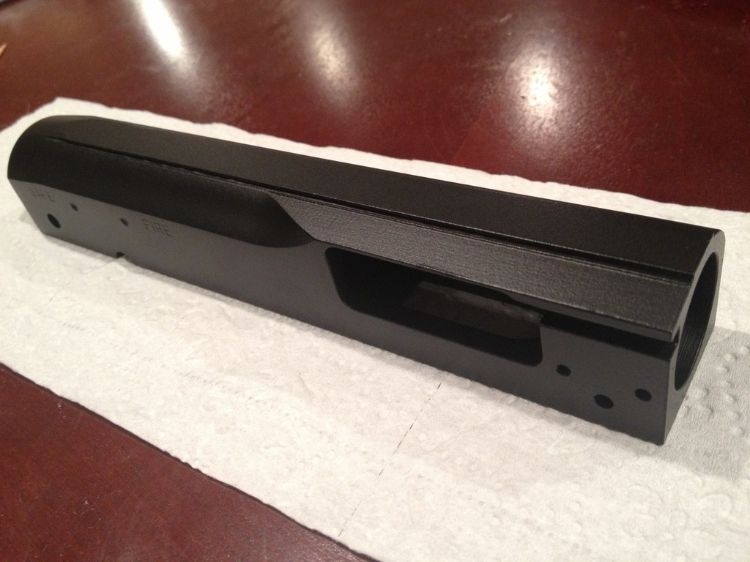
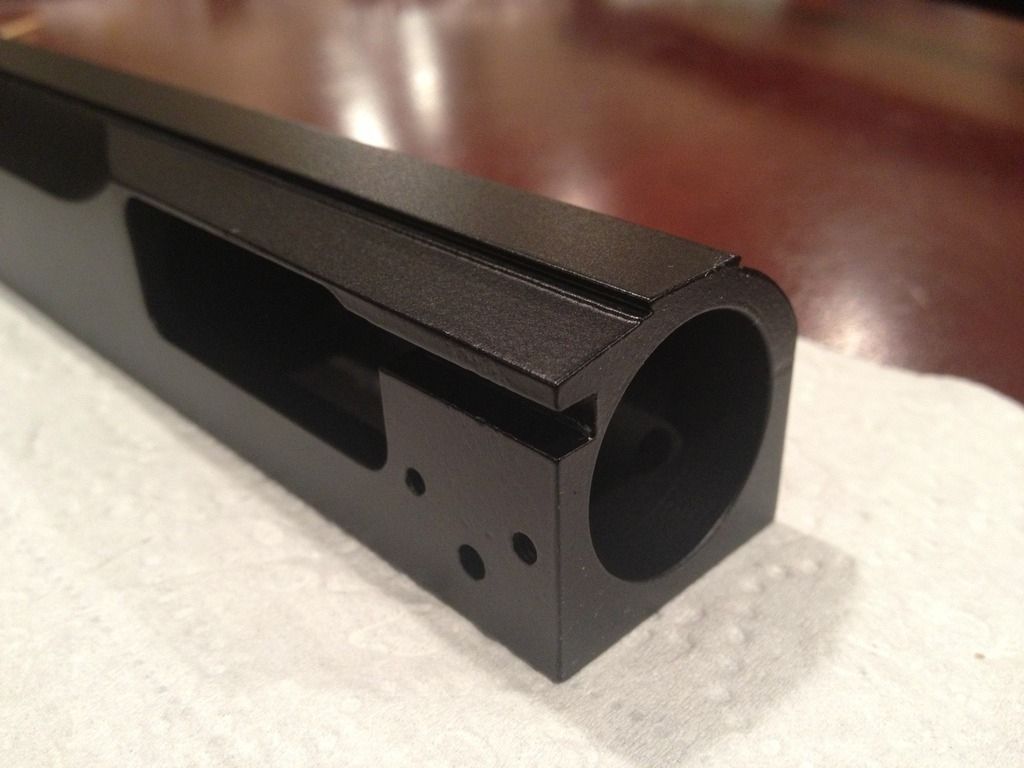
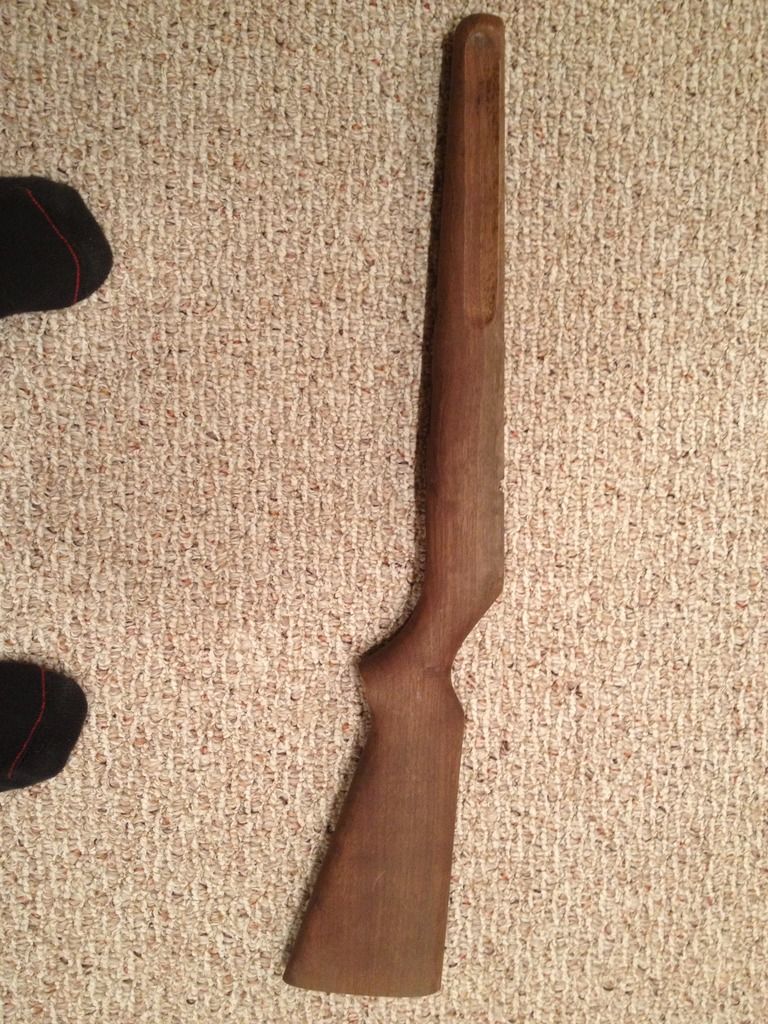
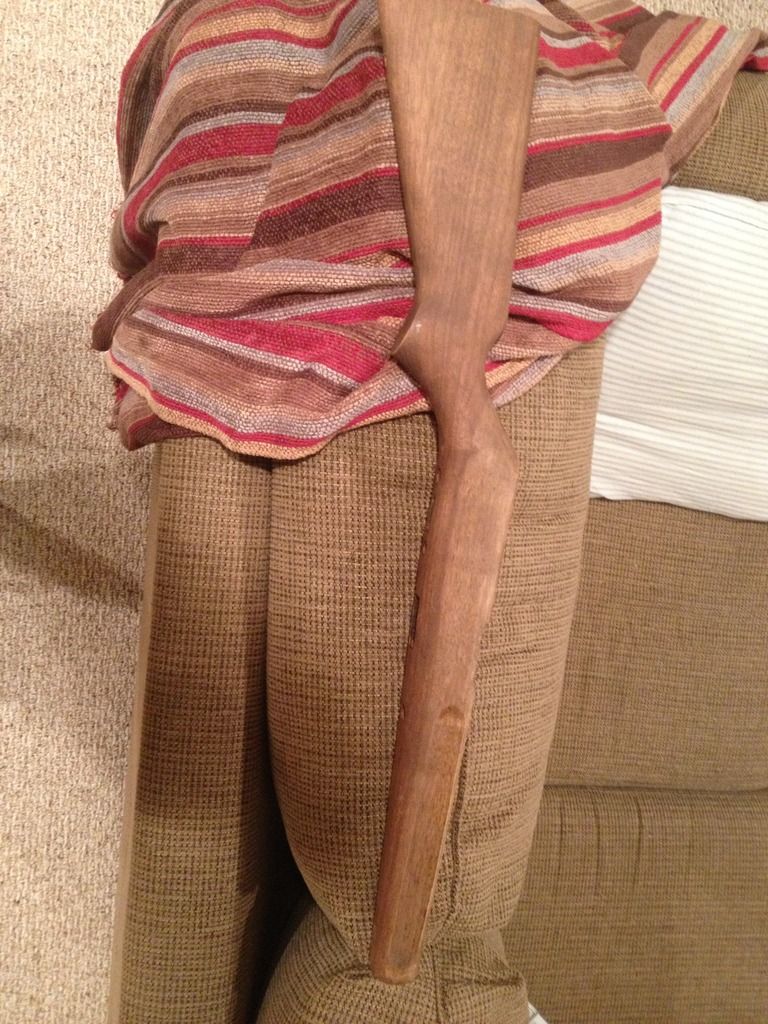
X5 Lightning Restoration
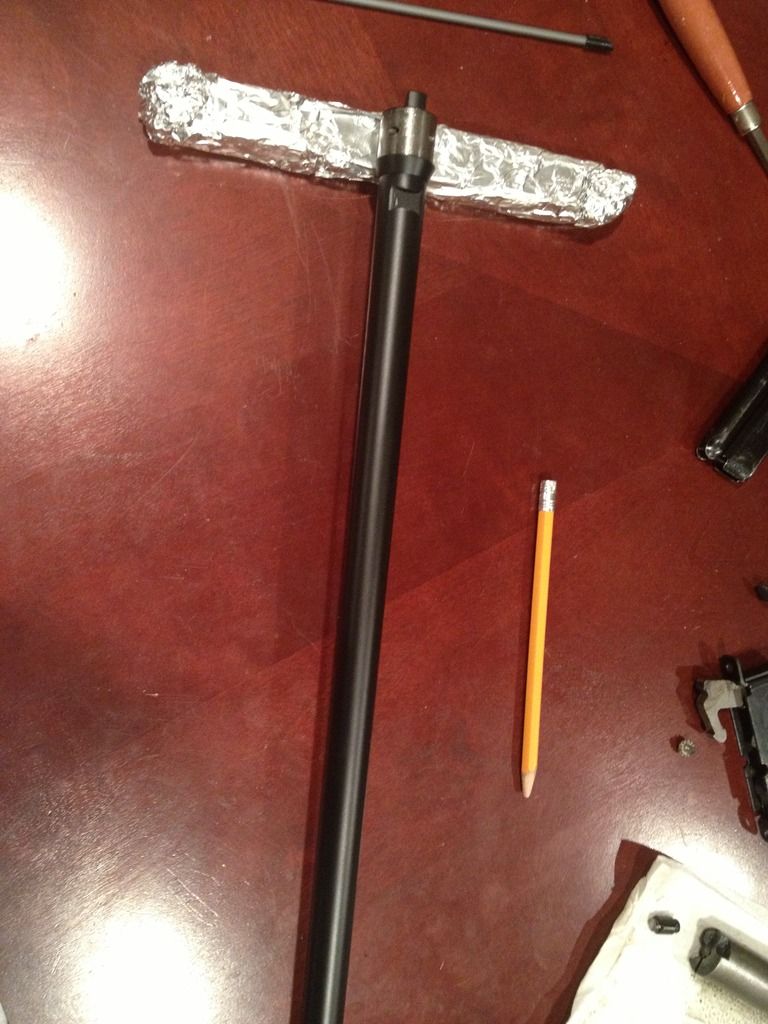
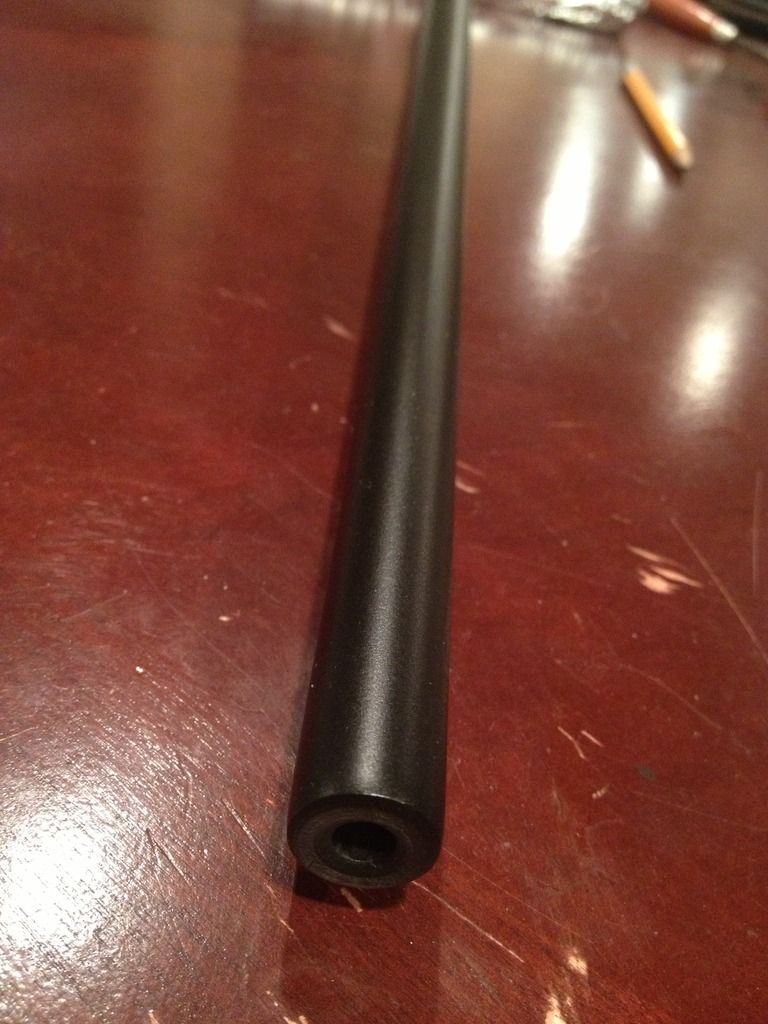
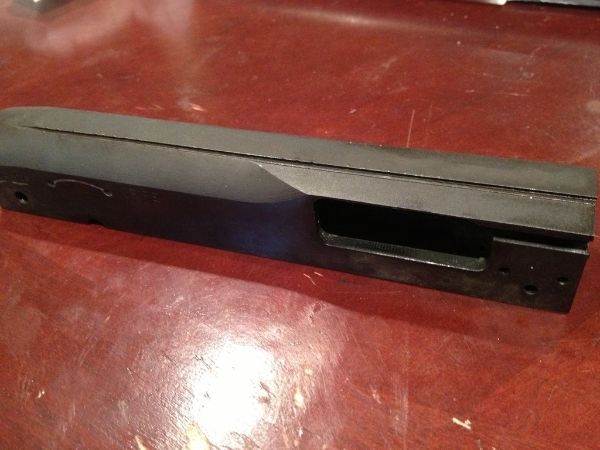
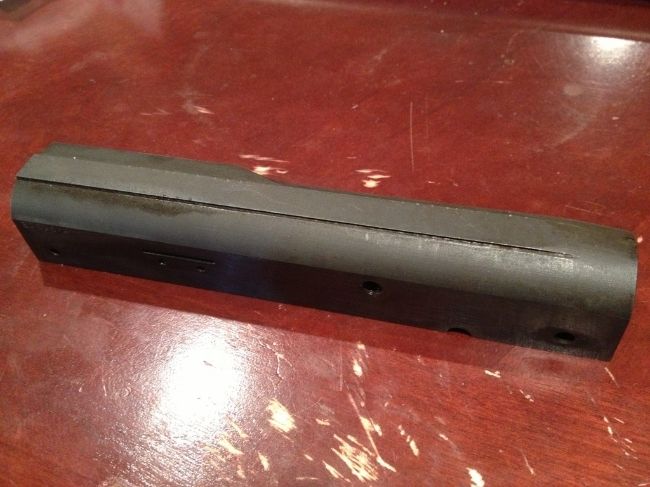
I purchased this rifle at a local gun auction about a month ago. I will be doing a full restoration of this rifle which will include: an overall disassembly and cleaning of the internals, refinishing the receiver and the barrel, and refinishing the stock.
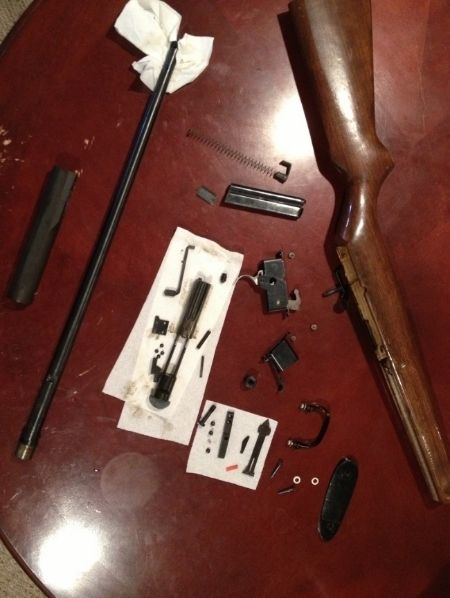
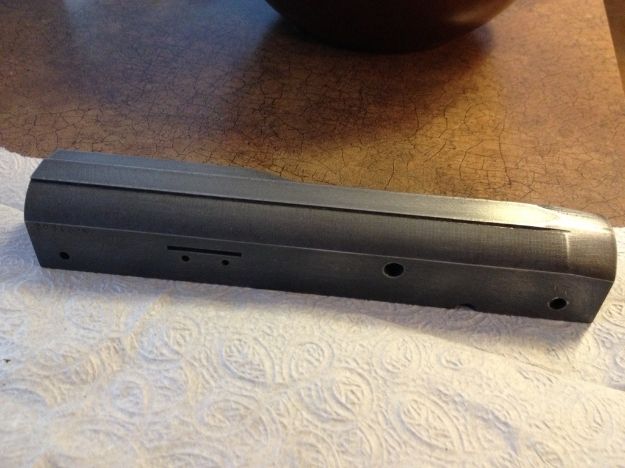
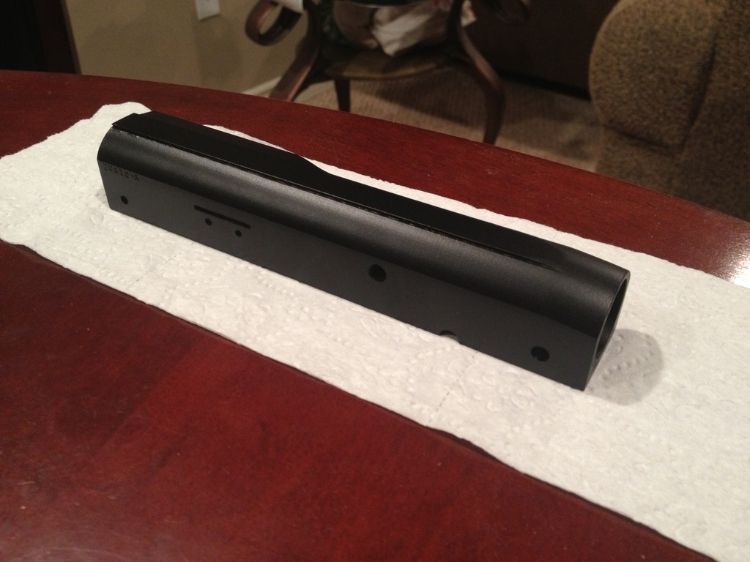
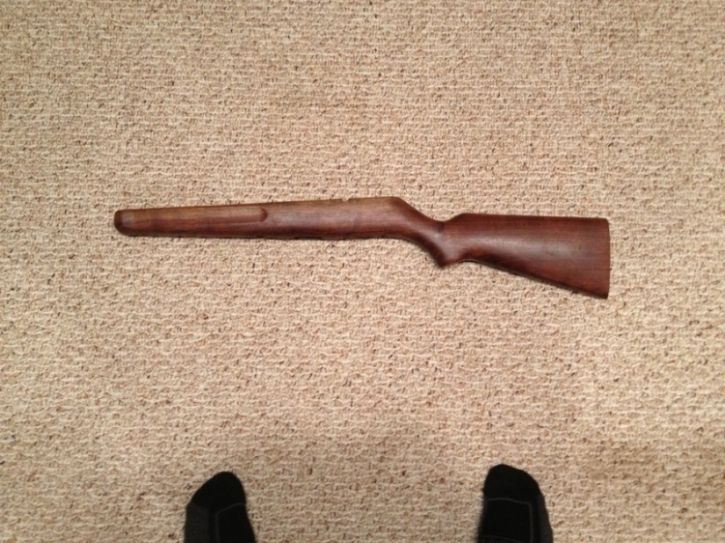
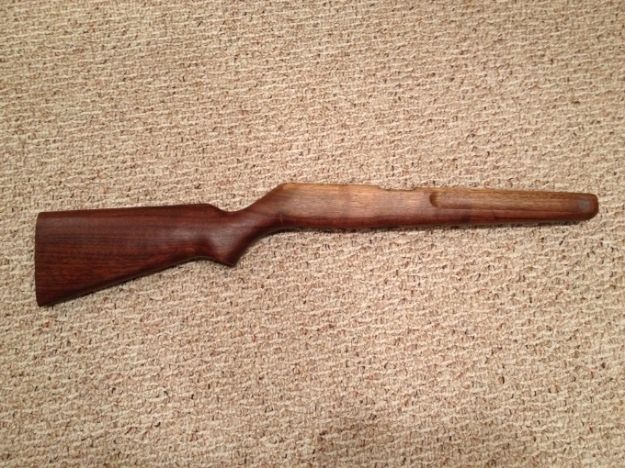
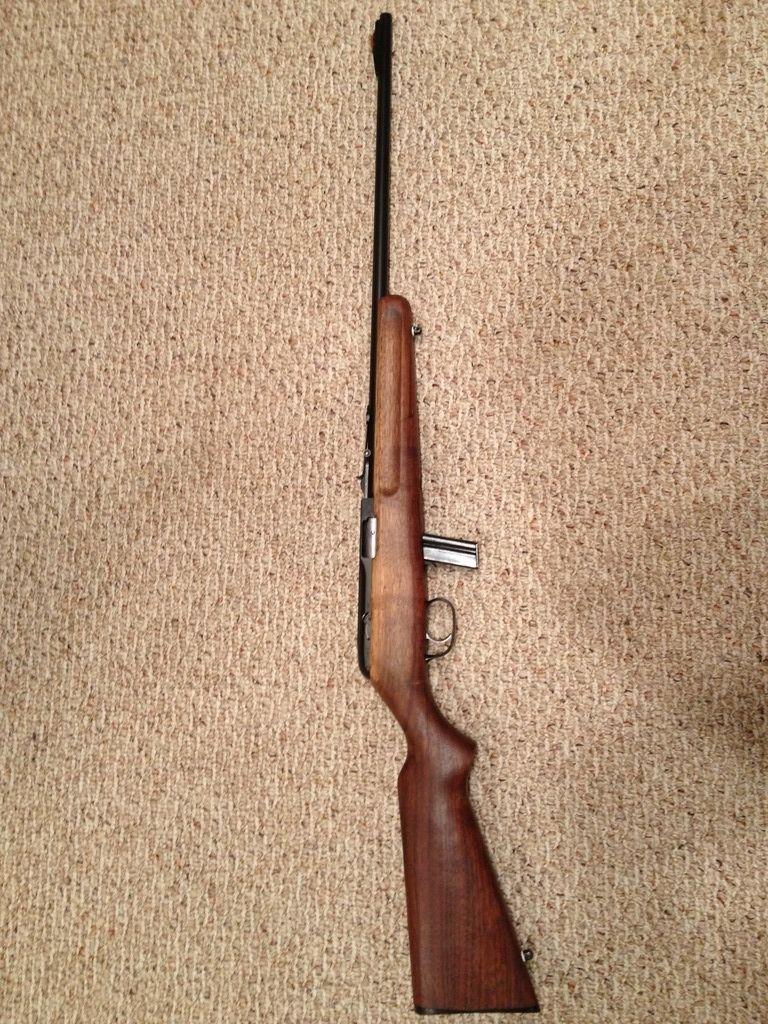
Here is what the rifle looked like when I purchased it.
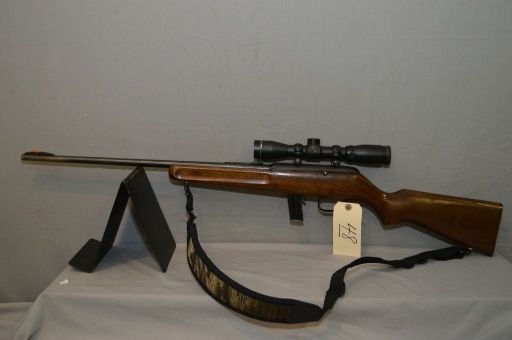
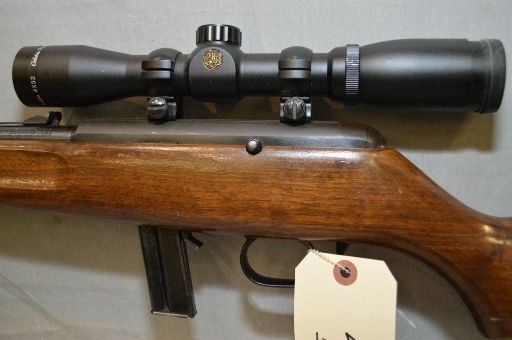
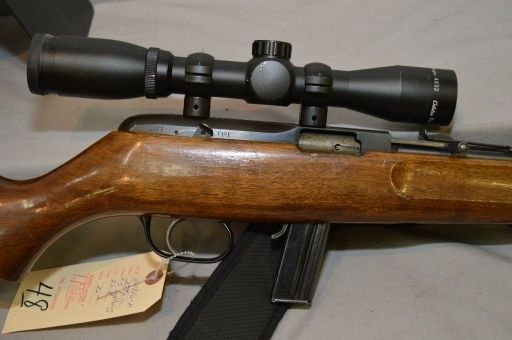
Here is what the rifle looked like when I purchased it.